Raspberry Pi Home Server Setup
The problem
I wanted an always-on Linux box at home that was cheap to run, quiet, and useful for learning administration outside coursework. A Raspberry Pi felt like the right balance: low power draw, small footprint, and enough headroom for services I could break and rebuild without a cloud bill or production downtime.
The goal was not to replace cloud hosting. Most of what runs on the Pi is experimental - test services, security tooling, coursework spin-ups. It is also the machine I SSH into when I want always-on Linux at home, so I try to be honest about which parts are toys and which parts I actually rely on day to day.
Key decisions
- Headless Linux over desktop setup. SSH-only access keeps the Pi lean and closer to how real servers are managed.
- Separate user accounts and sudo discipline. Running day-to-day tasks as a non-root user made permission mistakes visible early.
- Static IP on the local network. Makes port forwarding, service discovery, and firewall rules much easier to reason about.
- Basic hardening first. Firewall rules, disabled unused services, and key-based SSH before exposing anything beyond the LAN.
- Monitoring over perfection. Simple uptime checks and log review beat over-engineering the stack on day one.
What I learned
Running my own hardware teaches patience. Updates that take seconds on a laptop can take minutes on ARM. Storage I/O is the real bottleneck, not CPU. The moment I expose a service to the internet, the threat model changes immediately - even for a learning box.
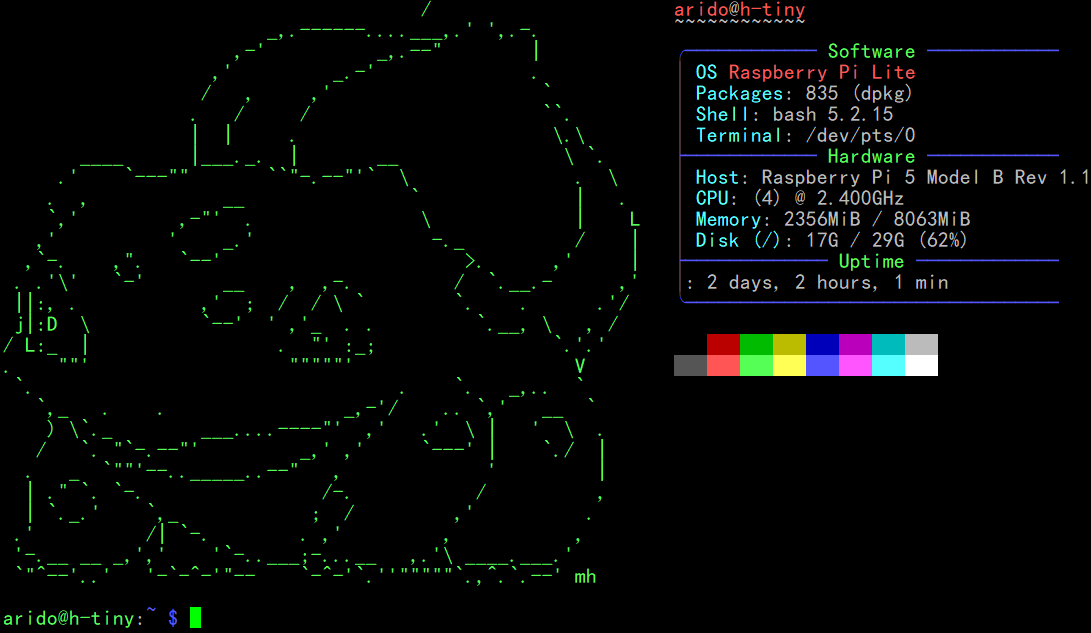
The neofetch screenshot above is mostly vanity, but it is a useful checkpoint: kernel version, uptime, and resource usage at a glance.
What I'd improve next
Docker would make service rollbacks cleaner. I would also add centralized logging and automated backups to external storage. Longer term, I want to wire this Pi into my NetworkIDS project so homelab LAN traffic gets analyzed the same way I would treat any other network segment.